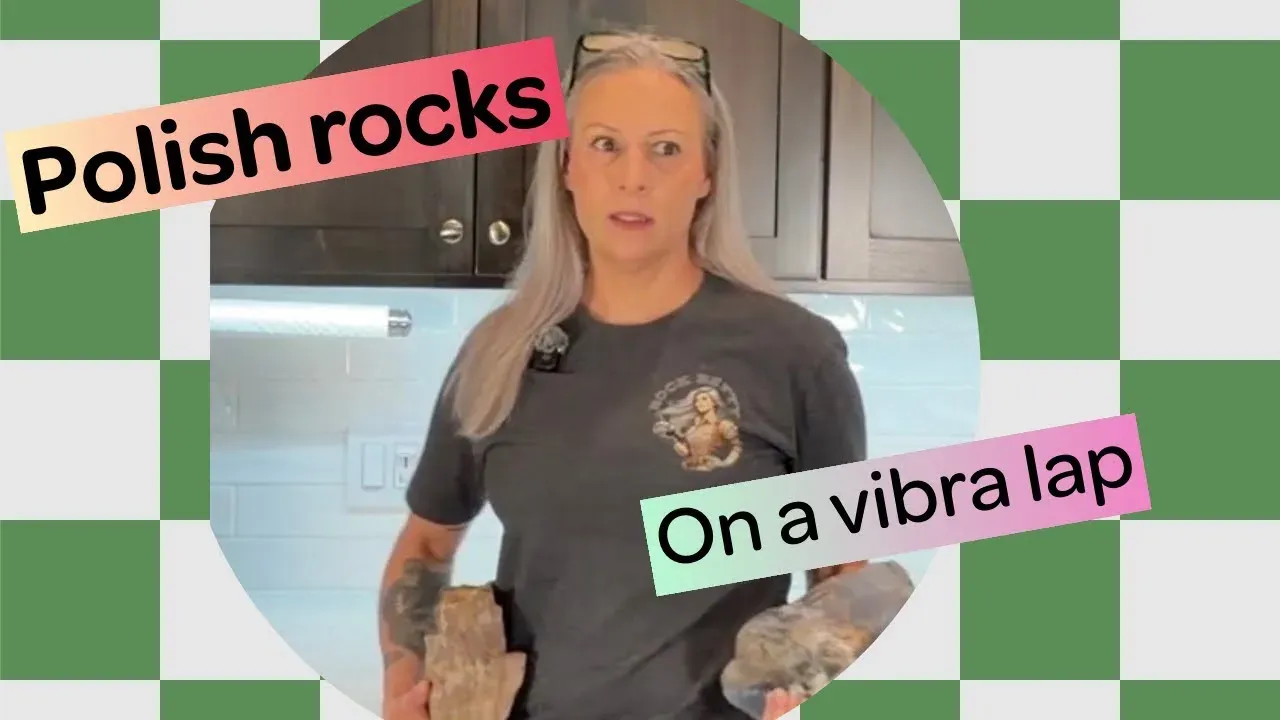
Do you want to polish big rocks? This is a walkthrough of how I process both flat slabs and irregularly shaped rocks on my 16” Vibra Lap from Covington Engineering, from gluing on the weights through the final polish. This is my current method, and I hope it helps others on their vibra lap polishing journey!
Watch the video:
Transcript
Do you want to polish big rocks, but you don’t want to do them by hand? You’re going to need a big vibra lap. Are you thinking about buying one? Did you buy one and you don’t know how to use it? I’ll show you how I use mine.
Every batch of rocks that I polish on my vibra lap is different. I like to take the rocks I cut for videos and polish the inside and leave the outside completely natural. It can be hard to keep the weight on top of some of these rocks. I’ll show you how I do a flat slab, and then we’ll go over gluing the weight down on a specimen as well. This is a slab that I cut from a Pony Butte thunder egg.
It’s already polished on one side, and I want to polish the other side. So, I’m going to take some masking tape to protect the polished side, and we’ll glue the weight down on top of it. You could use masking tape, painter’s tape, whatever. This slab is about 2 and 1/2 in wide, but it weighs next to nothing. So, I’m going to glue this 2 and 1/2 lb weight onto the top of it.
I like to put glue on both surfaces, and a good amount of it, too. Once that is set up, I pick the weight with the rock up, and I go around and look for any gaps in the glue. If it looks like it could use more glue, give it more glue. We want this to stay on for the whole process, if possible. The results are worth it, right?
I just pried this extra glue excess glue from the last job off of the bottom of this can. Um I find it comes off really easily. And I was being loyal to Gorilla Glue glue sticks, but now I’m just using the cheapest glue sticks I can find, and it’s still just fine. Although I I would say why use black? It might as well be clear.
Okay. Anyway. So, yeah, this just peels right off. Um no problem. But, some rocks are really hard to you know, it’s really hard to get a a flat level weight situation on a rock that’s shaped like a mountain top.
So, what I do is I I save scraps of glue, and I use them as shims. So, you know, in order to make this surface more level, so that our weight has a better chance of staying on top of the rock, we will fill that gap in with little scraps of glue. I mean, and we’re not looking for perfection. You know, that’s not me. But, you know, once we have those situated, this is going to have a lot more solid base for the weight.
Note to self, we might need ventilation when we’re using these glue sticks. You know, let’s go eye level. So, we have our rock kind of flattened out. I mean, you know, that’s a lot better. And now this won’t have to This won’t have to work as hard.
The glue that we use here. To keep this on. So, let’s glue this on top. Do our best to get it as level as possible. That’s a lot better situation.
And again, going to reinforce. I like it. We’re doing good. That’s good. That one’s ready.
So, we have, you know, a chunk of glue. We’re going to stick it there. There we go. I mean, this takes finagling. You know, I I get it why, you know, large polished specimens are expensive.
You can’t just throw it on. You can’t just glue a weight on. You have to keep the weight on top, and it doesn’t want to keep the weight, you know, it doesn’t want to It’s not level. Anyway. Yeah.
That looks pretty good. Yeah, yeah, that’ll work. Okay. So, let me just show you. Ground level.
And now that we have our little scrap figured out, going to glue the scrap down. And then, oh, it got me, too. I’m okay, though. There, see? That’s sitting much better now.
Oop. Stick a little stick in there. Tena glue. Let’s set it down. There we go.
Now, reinforce. Give yourself a fighting chance. Okay. So, yeah, it looks like a mess, but it will it’ll work out. Okay.
When you’re rock tumbling, stage one is typically 60 or 80 grit. With the Vibra Lap, you usually start with stage two. So, 120 is what I’m starting with. The Vibra Lap tray has to get scrubbed and cleaned between every stage. But, I don’t bother to clean it after I polish.
This cerium oxide is not going to taint our first stage on the Vibra Lap. All right, so let’s turn her on. I’m going to put about a third of a cup of water. This is a 16-in Vibra Lap, and I usually start out with about a third of a cup of water and 4 Tbsp of grit. Now, we’re ready to put our rocks on the Vibra Lap.
I like to use PVC pipes to keep my pieces separated. I like to cut the lengths about 5 in tall so that they have a good amount of weight. The height seems to help keep the weight on top of the rock, too. You can see that the rocks and their separators, everything moves pretty erratically until we get the tray pretty much full. That’s why they recommend the tray to be 50 to 75% full.
Cuz the rocks won’t move right until it is. Keep an eye out for chips. They will ruin your day. You can usually hear them before you ever see them. They make an absolutely terrible noise.
We’ve got our tray loaded up and our rocks are moving nicely. Now we just need to monitor them. I have a security camera set up pointed at my Vibra lap so that I can keep an eye on it at all times. You do want to supervise these rocks. They need to be kept an eye on.
Sometimes a rock can come out from under a weight, scratch everything else up, knock things off the Vibra lap. It’s really meant to be supervised. When I see that the rocks have started slowing down, maybe the slurry has gotten kind of thick, I go and I spritz it with my water bottle. Usually within a few seconds the rocks start spinning quickly again. This is footage from my security camera.
I looked at my rocks and I could tell that things were moving a little sluggishly. And you can see me walk up, spritz it with water, and then after a few seconds things are trucking right along. During stage one, I typically refresh the grit every couple of hours. I sprinkle a tablespoon of grit into the tray and spritz a couple sprays of water. If you add too much grit or too much water, everything will just spray the walls of your enclosure or all over the place.
So, you really want to keep it just so. After the rocks have been processing in stage one for a few hours, I will pull one off and take a good look at it. Scrub it off, dry it off, and look at it. We need to make sure that they’re perfectly matte, no saw marks, nice and flat. This one’s not ready.
If they’re not done, just process them for a couple more hours and then check on them again. When the rocks are done with the first stage, they should be perfectly matte, nice and satin, no blade marks, nothing like that. You want to wash all the rocks and take a really good look at them before you move on to the next stage. We’re going to clean everything. We’re going to scrub the rocks, the separators, the weights, the tray, absolutely everything needs to be really clean.
If a rock has cracks or crevices or is a little bit porous, I will put it into my ultrasonic cleaner to make sure that I don’t carry any grit into the next stage. I’ll re-secure any rocks that came off of their weights and reinforce any rocks that feel loose. I’m doing this in my kitchen sink, but this is after I’ve already rinsed the grit out of the tray and everything off of the rocks into that bucket. This doesn’t go down your drain. Don’t do that.
Don’t do it. Before we move on to stage two, I clean up the area around the Vibra-Lap. I wipe down the inside of the Plexiglas so that that grit can’t fall into the next stage and I use a vacuum cleaner to clean up the dust around the machine itself. This is a messy process. I can’t make it look super clean because it’s messy.
But we clean this up, otherwise I track it into the house and we don’t want to contaminate our next stage. Stage two, in this case stage two is going to be 500 grit silicon carbide. I add three or four tablespoons of grit to the tray and about a third of a cup of water. Can you do this without making a mess? Maybe.
Maybe in a couple of years I can say, “Hey, you can use a Vibra-Lap and not make a mess. Here’s how.” We’ll see. I don’t think so. I doubt it. Nope.
Operationally, there’s not much that differentiates this stage from the first stage. This stage should be a little bit shorter than the first one. But in the end, once we’re done with this stage, the rocks will still be matte and very satin. They almost will look pixelated. They will be smoother and feel softer when you touch the surface.
We’re just taking those 120-grit scratches and turning them into 500-grit scratches. So, we’re just going to get this tray loaded up and make sure everything is moving the right way. And we’re going to monitor it. It’s a lot like stage one. The slurry looked a little bit too watery, so I ended up adding a little bit more grit.
Every once in a while, I stopped the machine to add the grit. But for the most part, I just fit it in in between the separators. This isn’t meant to be an accurate representation of the noise level. This machine itself is pretty quiet. But the rocks and the separators and everything rattling around on it, it gets really loud.
Just know that. Once I feel like I have the slurry just right and that the rocks are moving well, I walk away and monitor it on my security camera. This stage will take a few hours. I won’t even check the surface until it’s been at least four. How long this stage takes is going to depend on how well your rocks did in stage one, what type of rocks they are and their hardness level, the thickness of your slurry, I can’t possibly tell you how long exactly this will take.
But, you know, maybe about 6 hours. Maybe eight. I can’t tell you. You do want to try to distribute the weight evenly on the tray or as evenly as you can. But, if the tray is level and the rocks have the right amount of weight on them and the slurry is correct, they’ll start booking pretty fast.
Every single rock will spin in a circle and then they’ll spin around each other. It’s pretty cool. Now, we’re going to take a really good look at these rocks and see if they’re ready for polishing. I think these are looking good. It’s a much smoother matte finish.
When you’re first starting to process rocks on a vibra lap, it helps to mark the surface with a Sharpie, almost completely fill in the surface of the rock. That way, you can see that Sharpie get worn away and you know that you’re ready for the next stage. I’m going to spare you this footage for the most part because it’s redundant. But, before we move on to the polishing stage, we’re going to scrub the rocks, the weights, the separators, the tray. We’re going to wipe down the Plexiglas and give a good vacuum around the machine.
For the polishing stage on the vibra lap, we’re going to use a felt pad. The felt pad is used in combination with a polishing powder. Usually aluminum oxide, cerium oxide, or tin oxide. It’s a good idea to have a spare felt pad around just in case you want to switch compounds or if your pad gets contaminated with grit. When you use a brand new felt pad, you have to charge it with your compound so it’ll eat up quite a bit of powder.
But from then on out, you just add a little bit. To keep the felt pad from spinning around with your rocks, you use this plastic tubing. It just stays in place and holds that felt pad down. This pad is all charged up with aluminum oxide, but I still add a couple of tablespoons along with about a third of a cup of water to get things started. It is really important to keep your felt pad clean.
You can’t have a piece of grit in there. It will ruin everything. For the polishing stage on the Vibra-Lap, the consistency I’m trying to maintain with the polishing powder and water is like a nice thick heavy cream. During the polishing phase, you have that tubing holding down the felt pad. So the diameter of the tray is just a little bit smaller.
So I In this case for this batch, I ended up using different separators just to accommodate for that smaller diameter. Now we just load the tray up and get these rocks polished. You can see that there’s clumps of powder dancing around. This is way too dry. So we’re just going to spritz it with our water bottle until we have it just right.
Once I’m happy with the way the rocks are placed on the tray and everything seems to be moving well, we’re going to keep an eye on it, monitor it, give it a spritz of water every once in a while, but this this stage tends to take quite a while. You know, you can plan on 10 hours. You can give it more. Like they’re just going to get better and better. But this is the consistency we want.
I like this. And now I’m going to just going to monitor them for a few hours. It’s doing great. These are looking great. I’m going to scrub them off, and then we’ll go in the kitchen and take a good look at them.
I’m really happy with the way these turned out. This is after the aluminum oxide. It’s about 8,000 grit. So, we could go a lot further. You could have another felt pad with cerium oxide on it.
You could hand polish, hand finish, finish them with a carpet wheel, whatever you want to do. But for most specimens for me, these are perfect. When the rocks are done, I pop the glue off. I find that it comes off pretty easily. And I just pop it right off.
Sometimes I might need a pair of pliers, but for the most part, it just peels right off. I want to appreciate this thunder egg for a moment. But I’ll show you another example of taking the glue off of the back. This one’s already been polished. So, Oh, see.
Yeah, popped it right off. that one’s done. But, yeah. Then, I just pry this excess off. We did it.
These rocks are shiny. I learned a lot. I learn a lot every time I do this, and as I learn more, I’ll put out videos and update everybody. I hope I was able to help you along with your vibra lap journey. Please consider subscribing to my channel.
We did it.